|
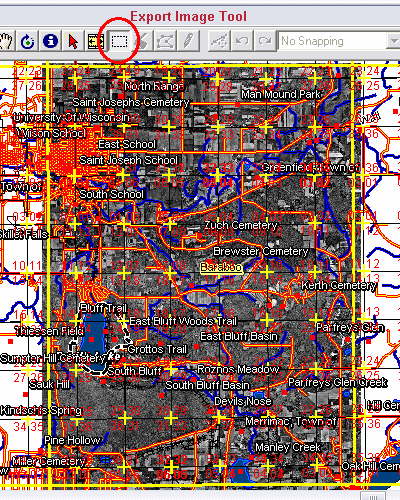
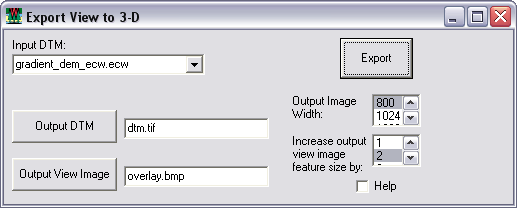
2. This image
above shows a view in fGIS that is set up with the data used for
the image overlay. The heavy yellow lines are from a USGS quadrangle
index shapefile. It was used as a "cookie-cutter" guide
with the fGIS "Export Image Tool" (selected in the toolbar
and used at 2X resolution). Save the Exported Image as a BMP
file to use as the 3D overlay file.
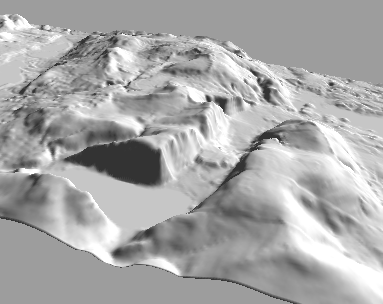
3. Start the
3D Utility (Utilities>3-D Viewing>Launch 3-D Viewer). Load
a Terrain Model by using the DEM extension option. Browse
to find the USGS DEM that corresponds to your view. When the landscape
loads, you'll see a simple "hillshade" view like the
one above.
Use
your mouse to reposition the view. Shift + the left mouse button
will raise or lower the landscape. Ctrl + the left mouse button
will rotate the view on a center (y) axis. Alt + the left mouse
button will rotate it on the x or z axis. With the left mouse
button depressed, pull the mouse toward or away from you to zoom
out or in.
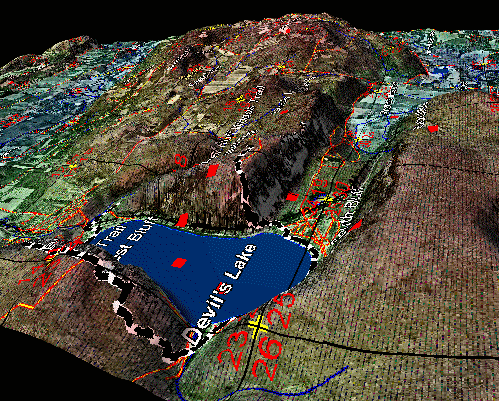
4. Now apply
the the Surface Overlay Image (saved from step 2) to make a 3D
map. The ortho photo layer was turned off but the vector lines
were kept for the following overlay.
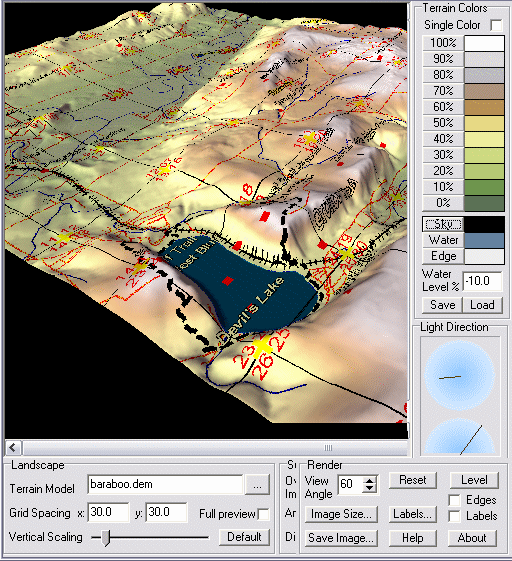
The 3D Viewer
interface (partially pictured above) allows many Render adjustments
for terrain color, lighting, image size, etc. Play with the controls
to see what they do.
Note that
the data used in this example can be downloaded in the "State_Park.zip"
sample file (which includes the DEM).
A USA
Quadrangle Index in geographic coordinates and a Wisconsin
Quadrangle Index in WTM (both as fGIS project folders) can
be downloaded from Digital Grove to help frame your image overlays.
See the Digital Grove Links
page for DEM sources.
|